
本教程目标是指导用户如何在无需编写代码/修改规则链的情况下为每个设备配置报警规则并设置邮件通知
- 1. Import dashboard
- 2. Configure profile rules
- 3. Configure the threshold input box
- 4. Configure Notification (only required for initial use)
- Additional Chapters:
- 5. What if I want to send an email to a specific recipient?
- 6. How to set up a separate page for each device for easier management?
1. Import dashboard
The Dashboard shown below displays all devices by default.

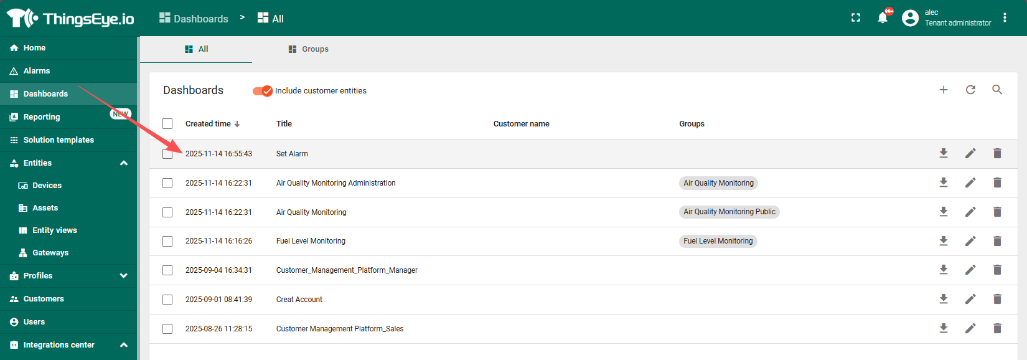
Each device's threshold are managed separately. Clicking on a device in the device list on the left will display the current device status and preset thresholds/email addresses on the right.

2. Configure profile rules
2.1 Create a condition to trigger an alarm when a threshold is reached.
Click the edit icon to enter edit mode and create a new alarm rule.


2.2 Set a clear condition to clear the alarm when the data returns to normal.
The steps are similar to Create alarm, only the values are set in reverse.


Save after set


3. Configure the threshold input box
3.1 Select the Realtime data key to display
Return to the dashboard and click on the device you want to edit.


Click "Edit mode" to enter edit mode.


Delete the default key and select the key you want to display.

Save after confirmation.


3.2 Create Threshold KEY
Enter edit mode and select the Threshold Setting component.


Save after add.


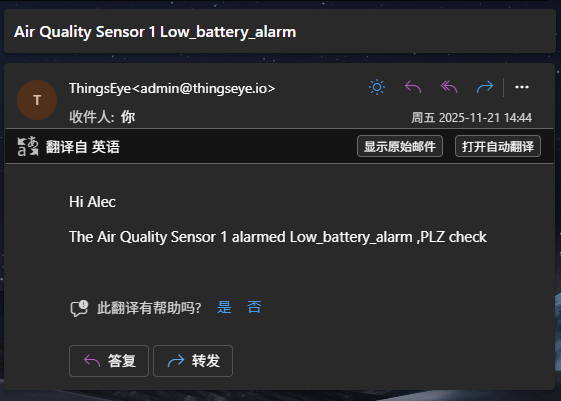
3.3 Example

Example of an alert email received:
4. Configure Notification (only required for initial use)
If this is the first time configuring the email sending function, you also need to configure the Notification to specify the recipient/template/sending rules.
4.1 Configure Recipients


4.2 Configuring Templates

Set Compose
Web
Subjtct:${alarmOriginatorName} ${alarmType}
Message:${alarmOriginatorName} alarmed ${alarmType}
Subjtct:${alarmOriginatorName} ${alarmType}
Message:Hi ${recipientFirstName:capitalize} ${recipientLastName:lowerCase}
The ${alarmOriginatorName} alarmed ${alarmType} ,PLZ check


4.3 Configure Notification Rules


Additional Chapters:
5. What if I want to send an email to a specific recipient?
Currently, it supports three recipient types: Platform users, Slack, and Microsoft Teams. You can create a user using the email address you want to receive emails from, and then select the recipient in Platform users -> UserList.


6. How to set up a separate page for each device for easier management?