3.2 Edit a Profile
Objective
Learn how to modify a tenant profile, including profile name, description, default profile setting, and feature quotas.
Applicable Roles
System Administrator
Prerequisites
Logged in to the platform with a System Administrator account.
The target profile already exists.
Steps
Step 1: Navigate to Tenant Profiles Page
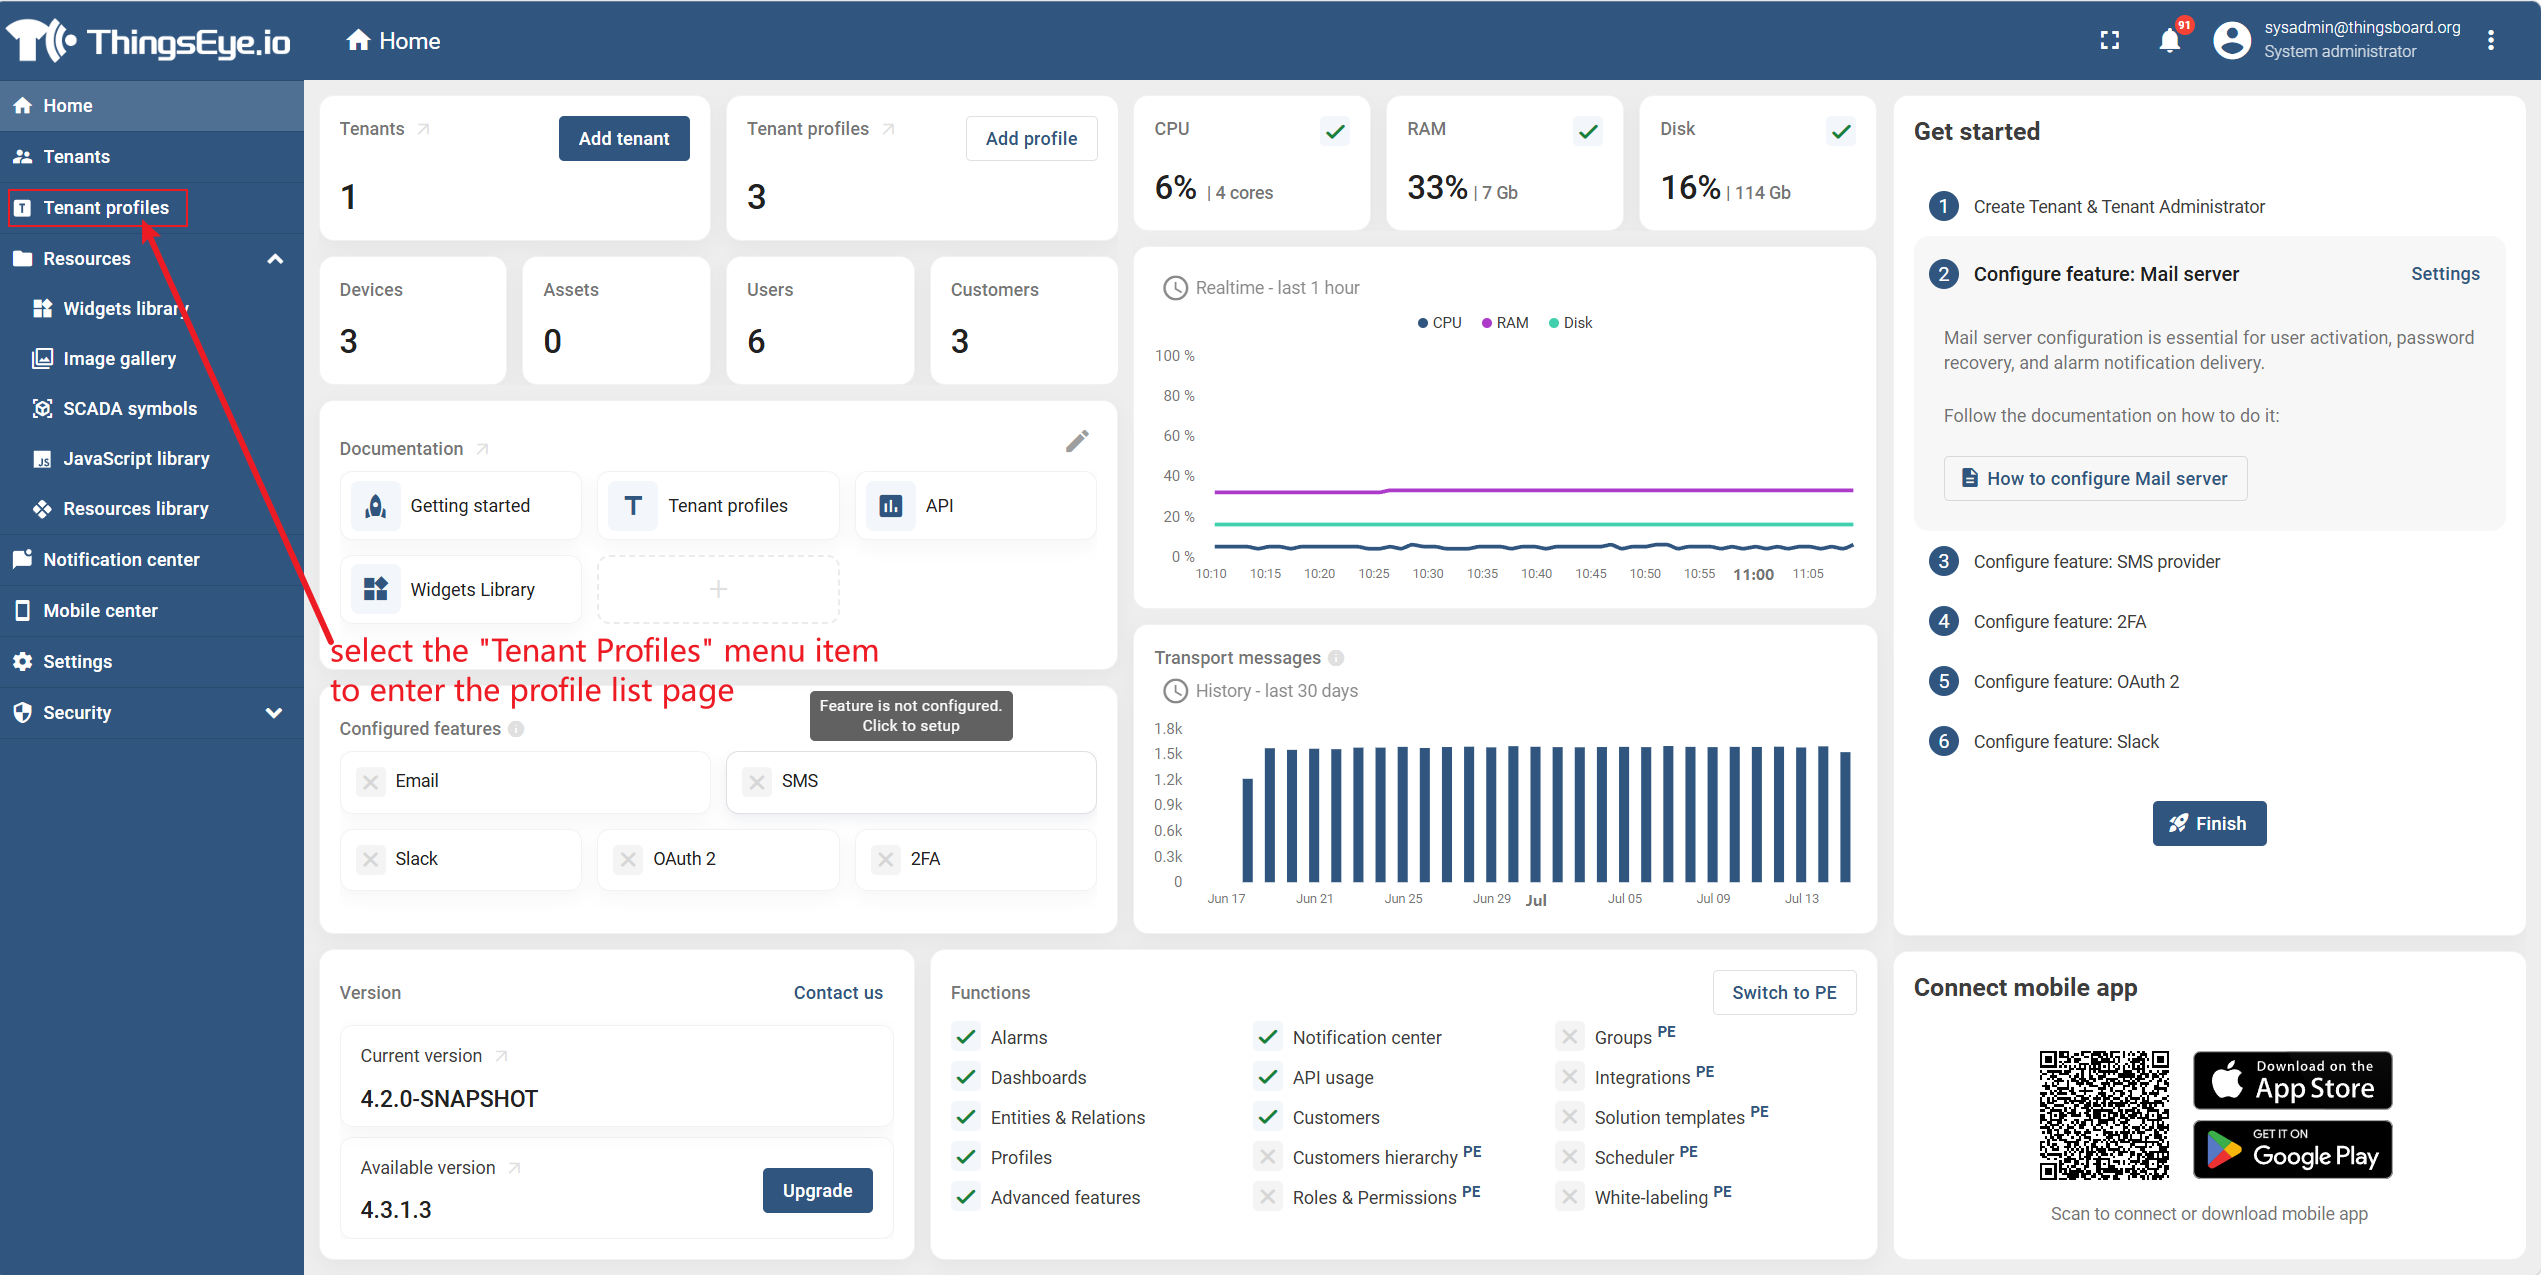
From the left sidebar, select the "Tenant Profiles" menu item to enter the profile list page.
Step 2: Locate the Target Profile
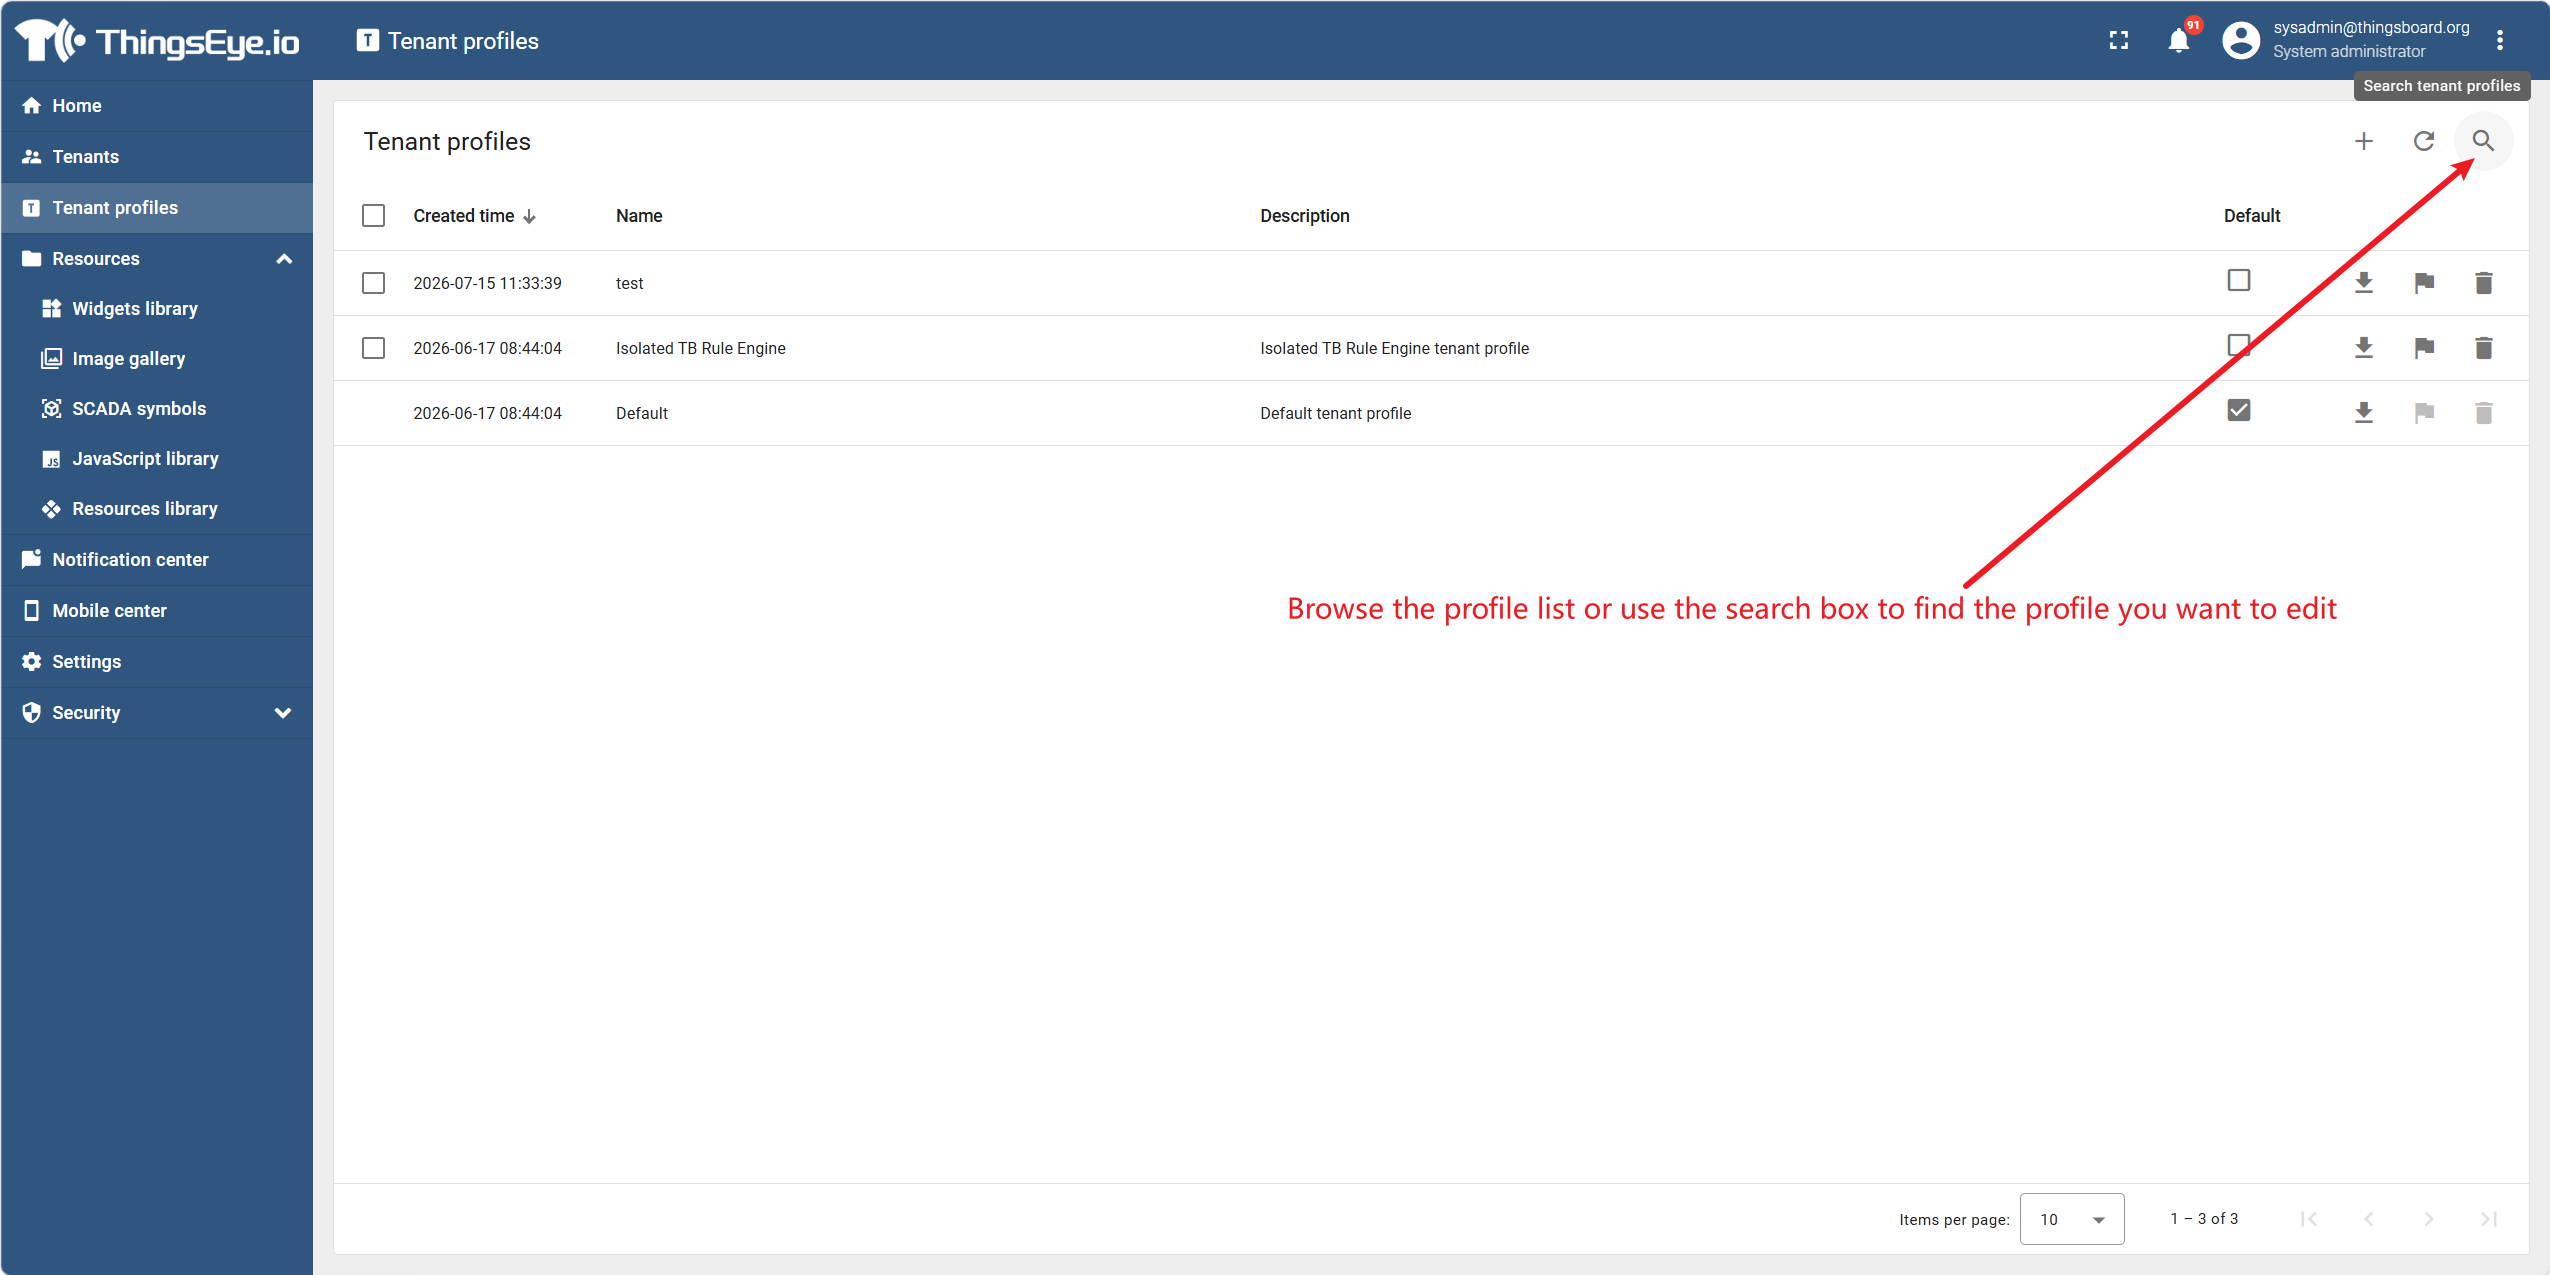
Browse the profile list or use the search box to find the profile you want to edit.
Step 3: Enter Edit Mode
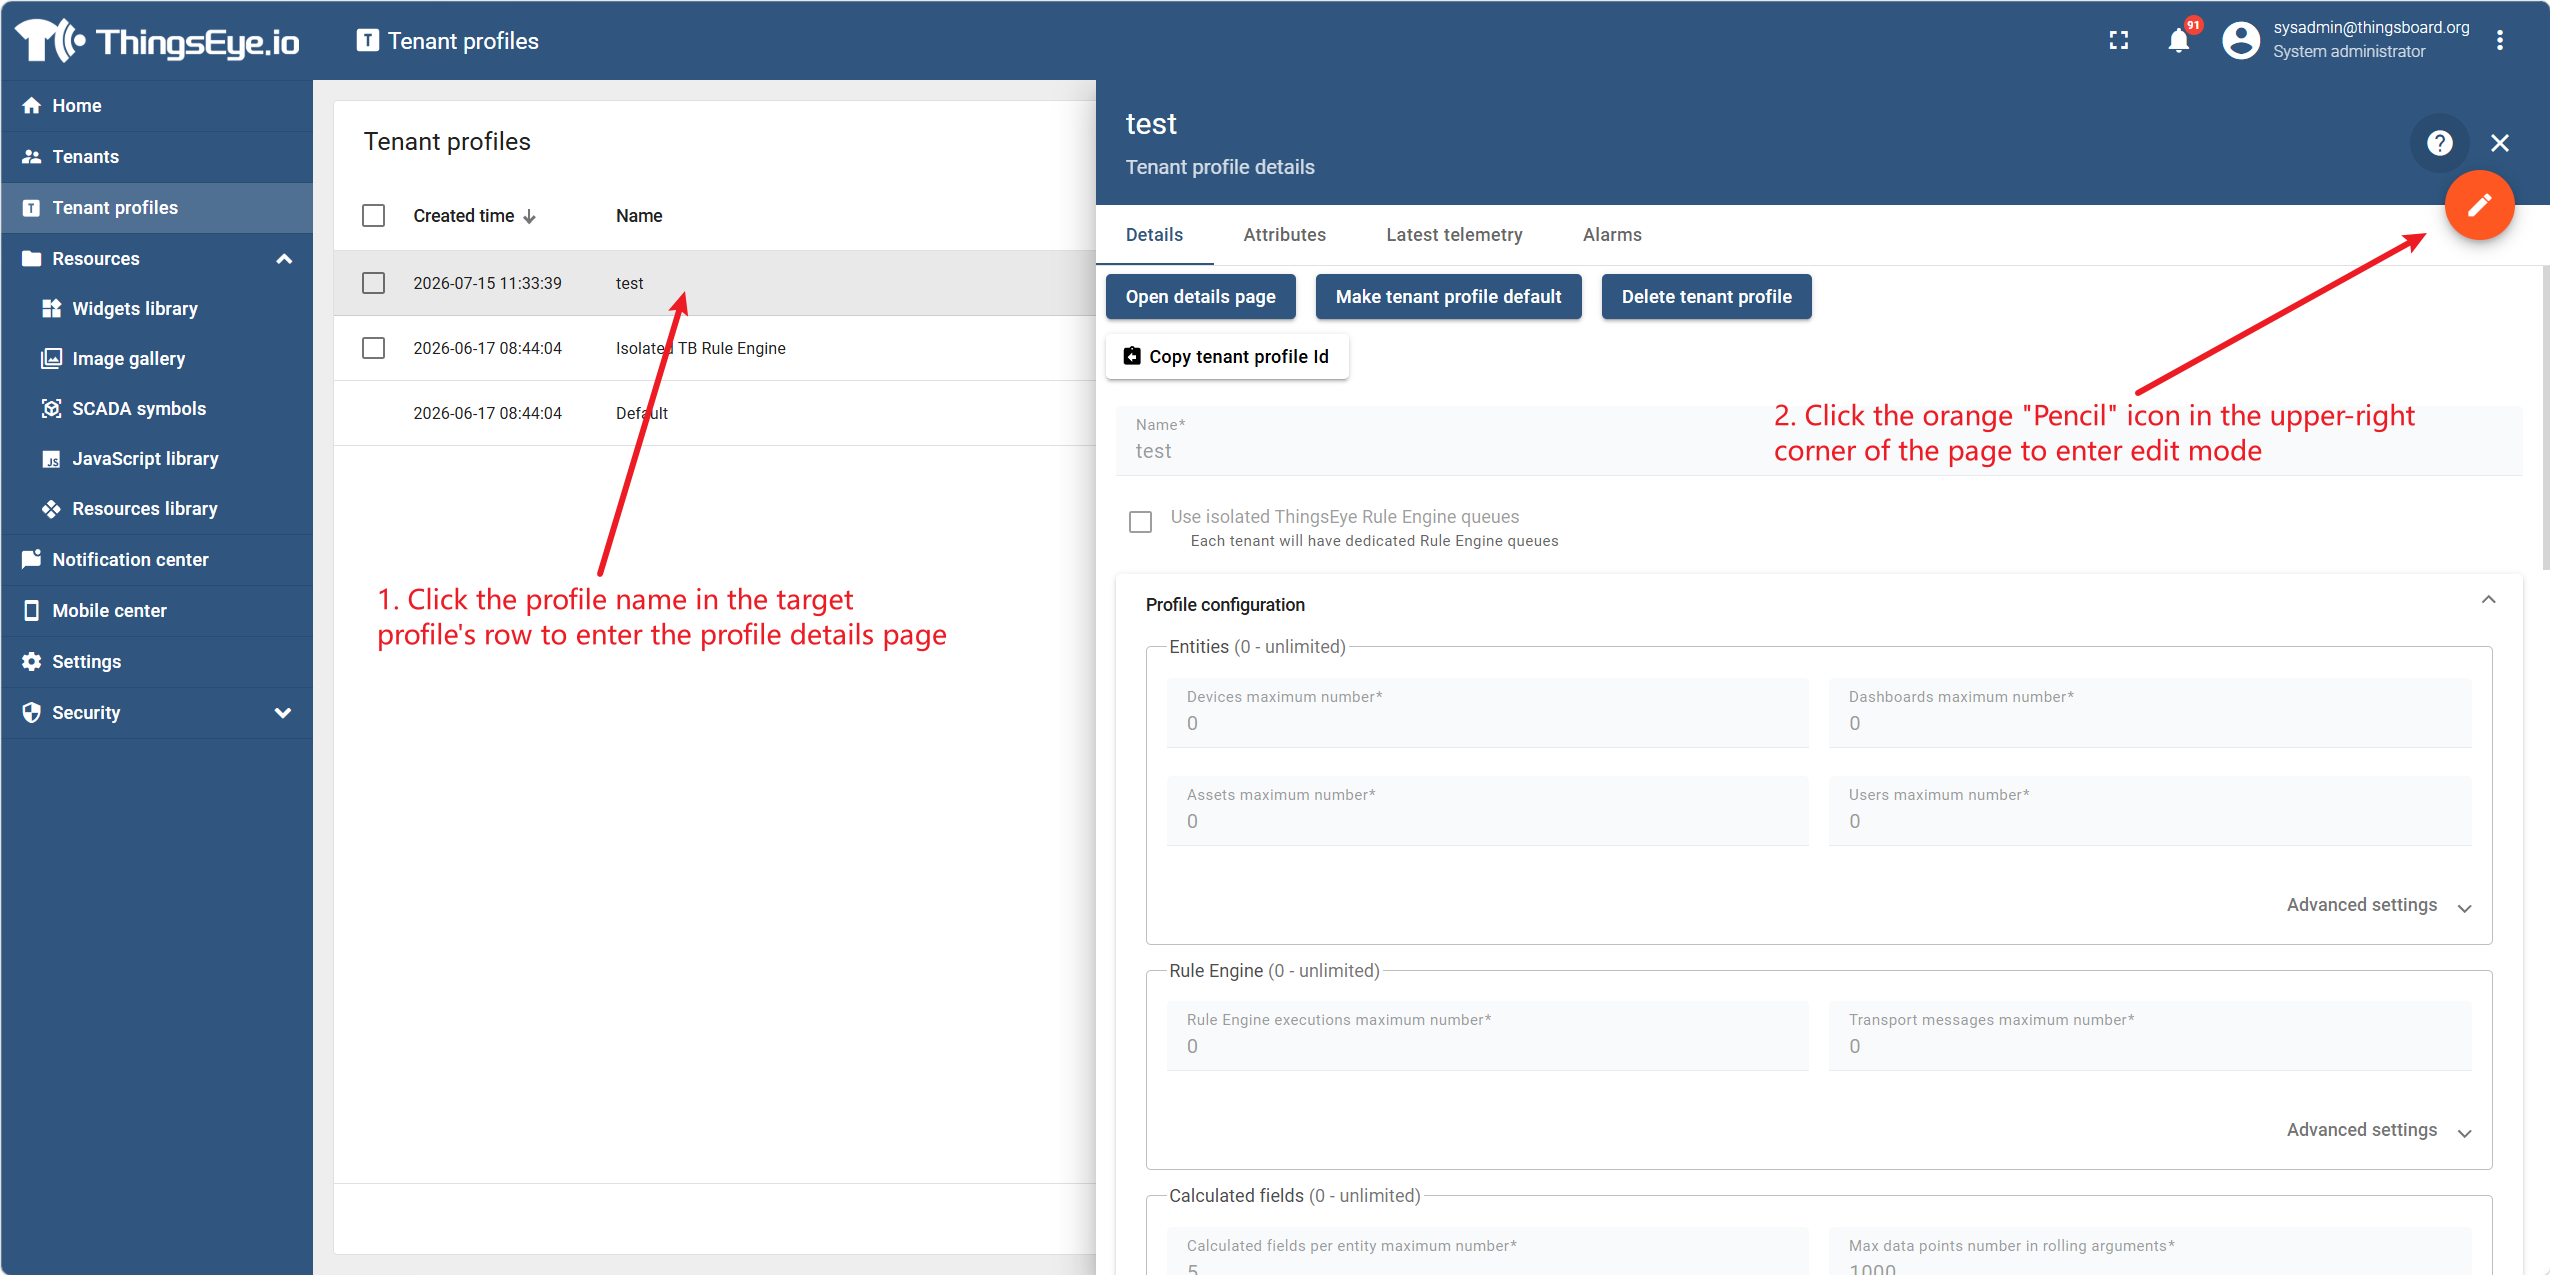
Click the profile name in the target profile's row to enter the profile details page. Then click the orange "Pencil" icon in the upper-right corner of the page to enter edit mode.
Step 4: Modify Profile Information and Quotas
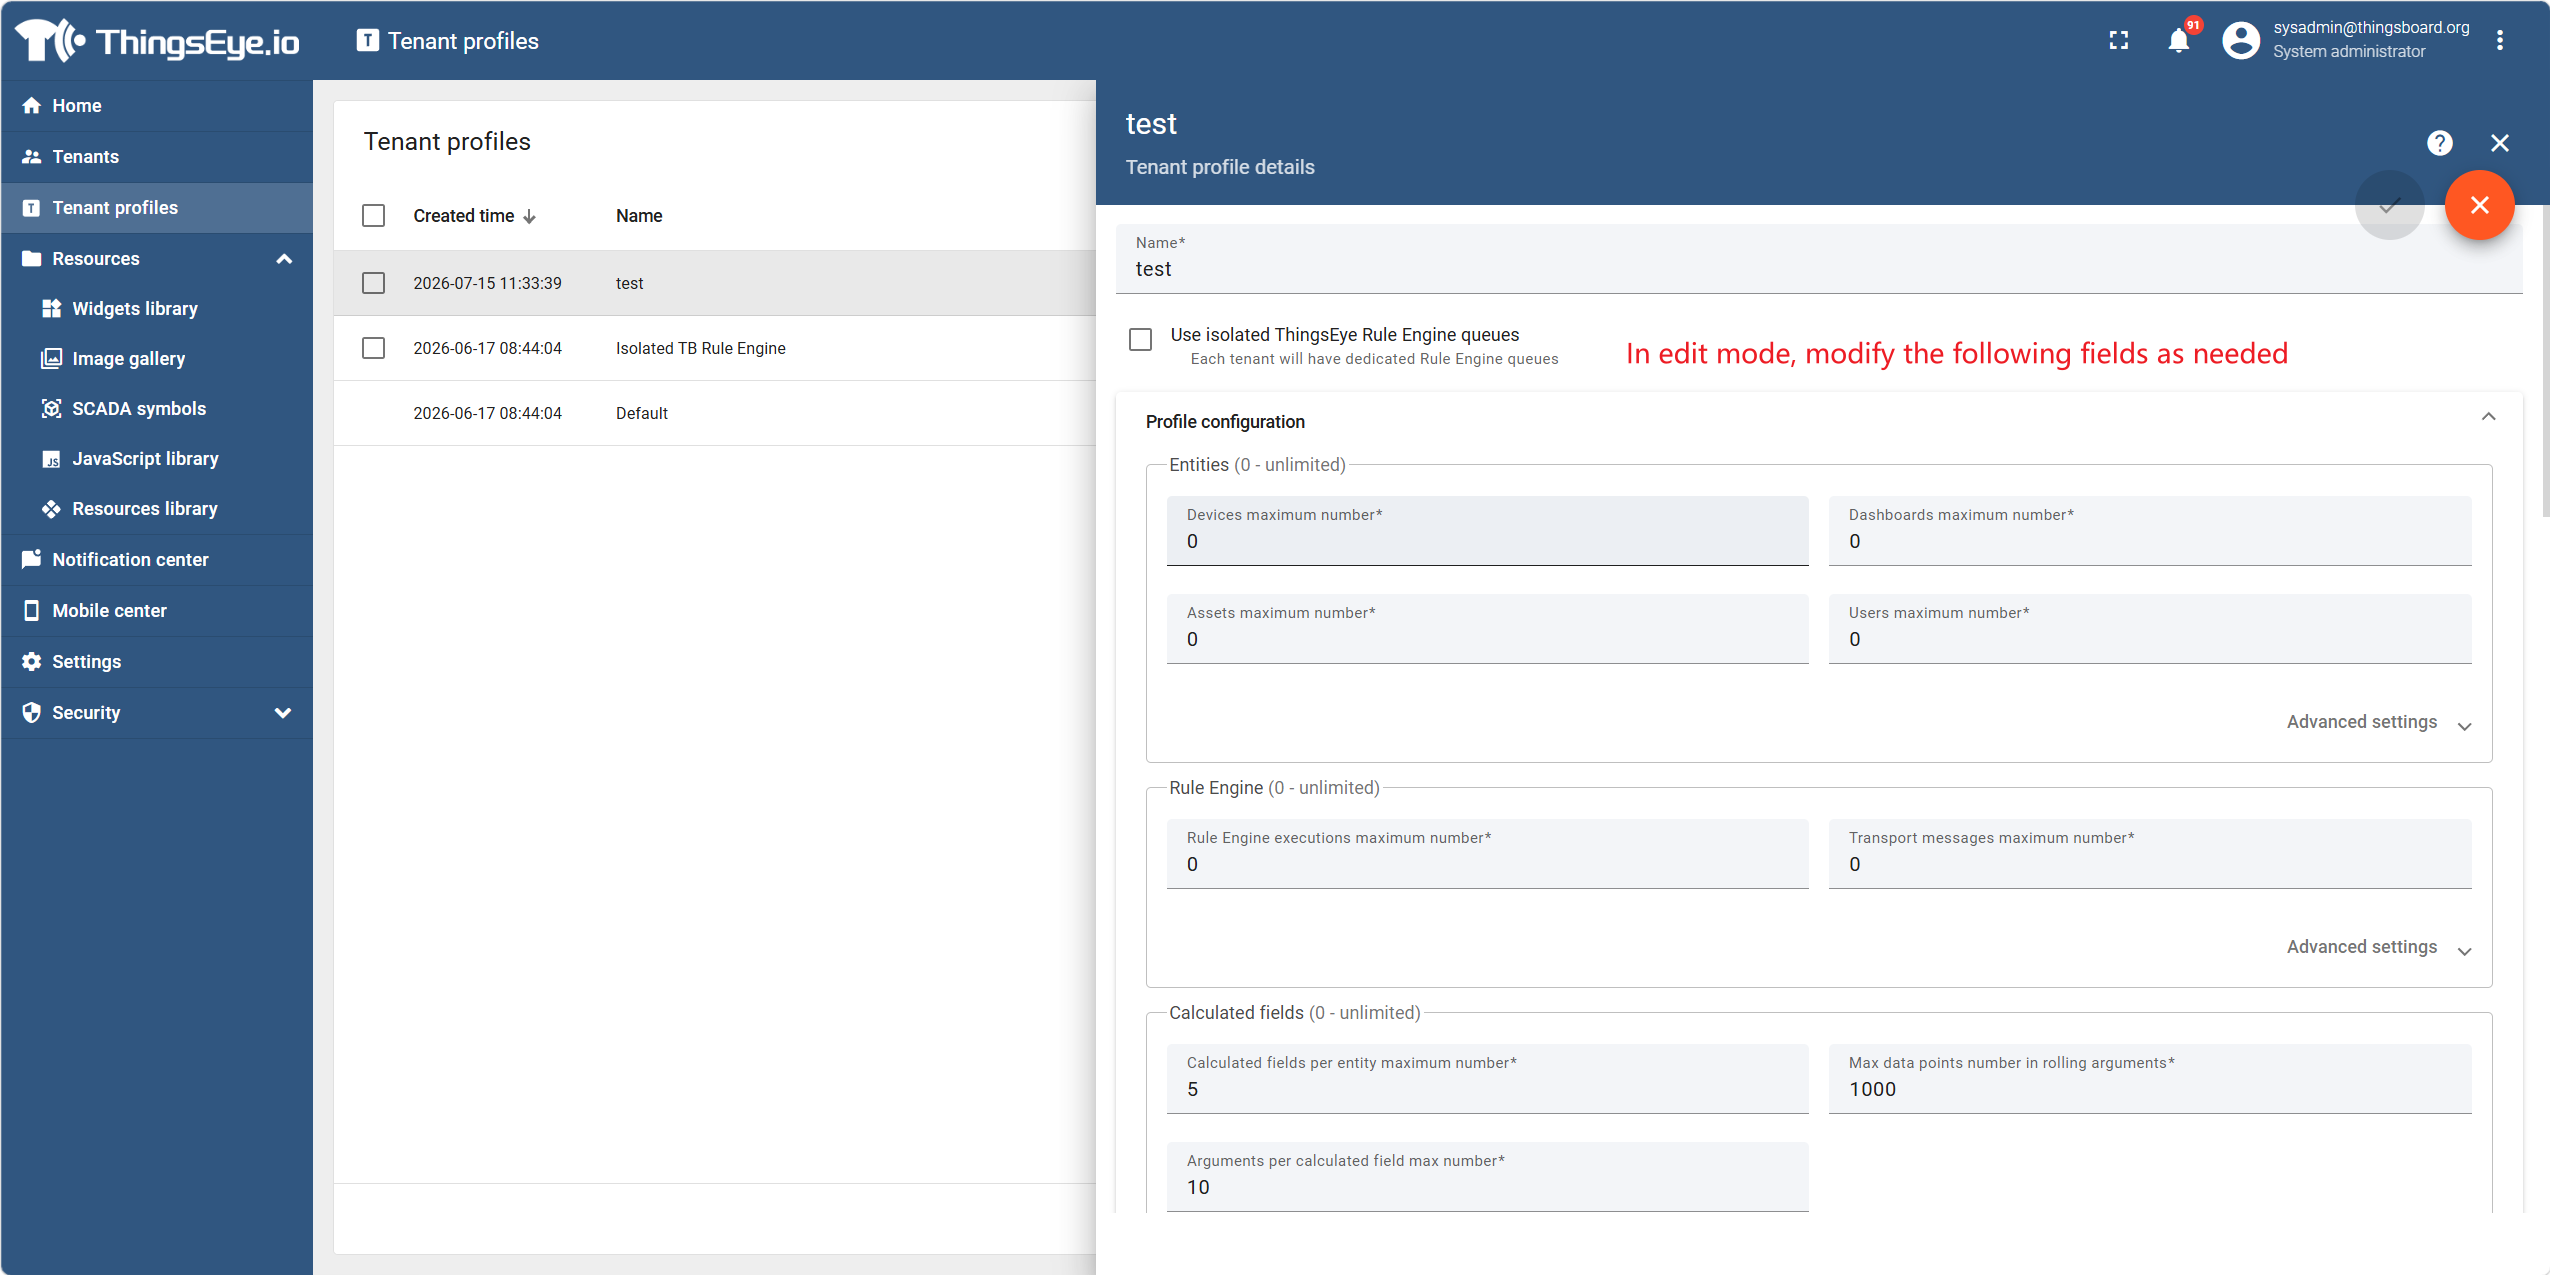
In edit mode, modify the following fields as needed.
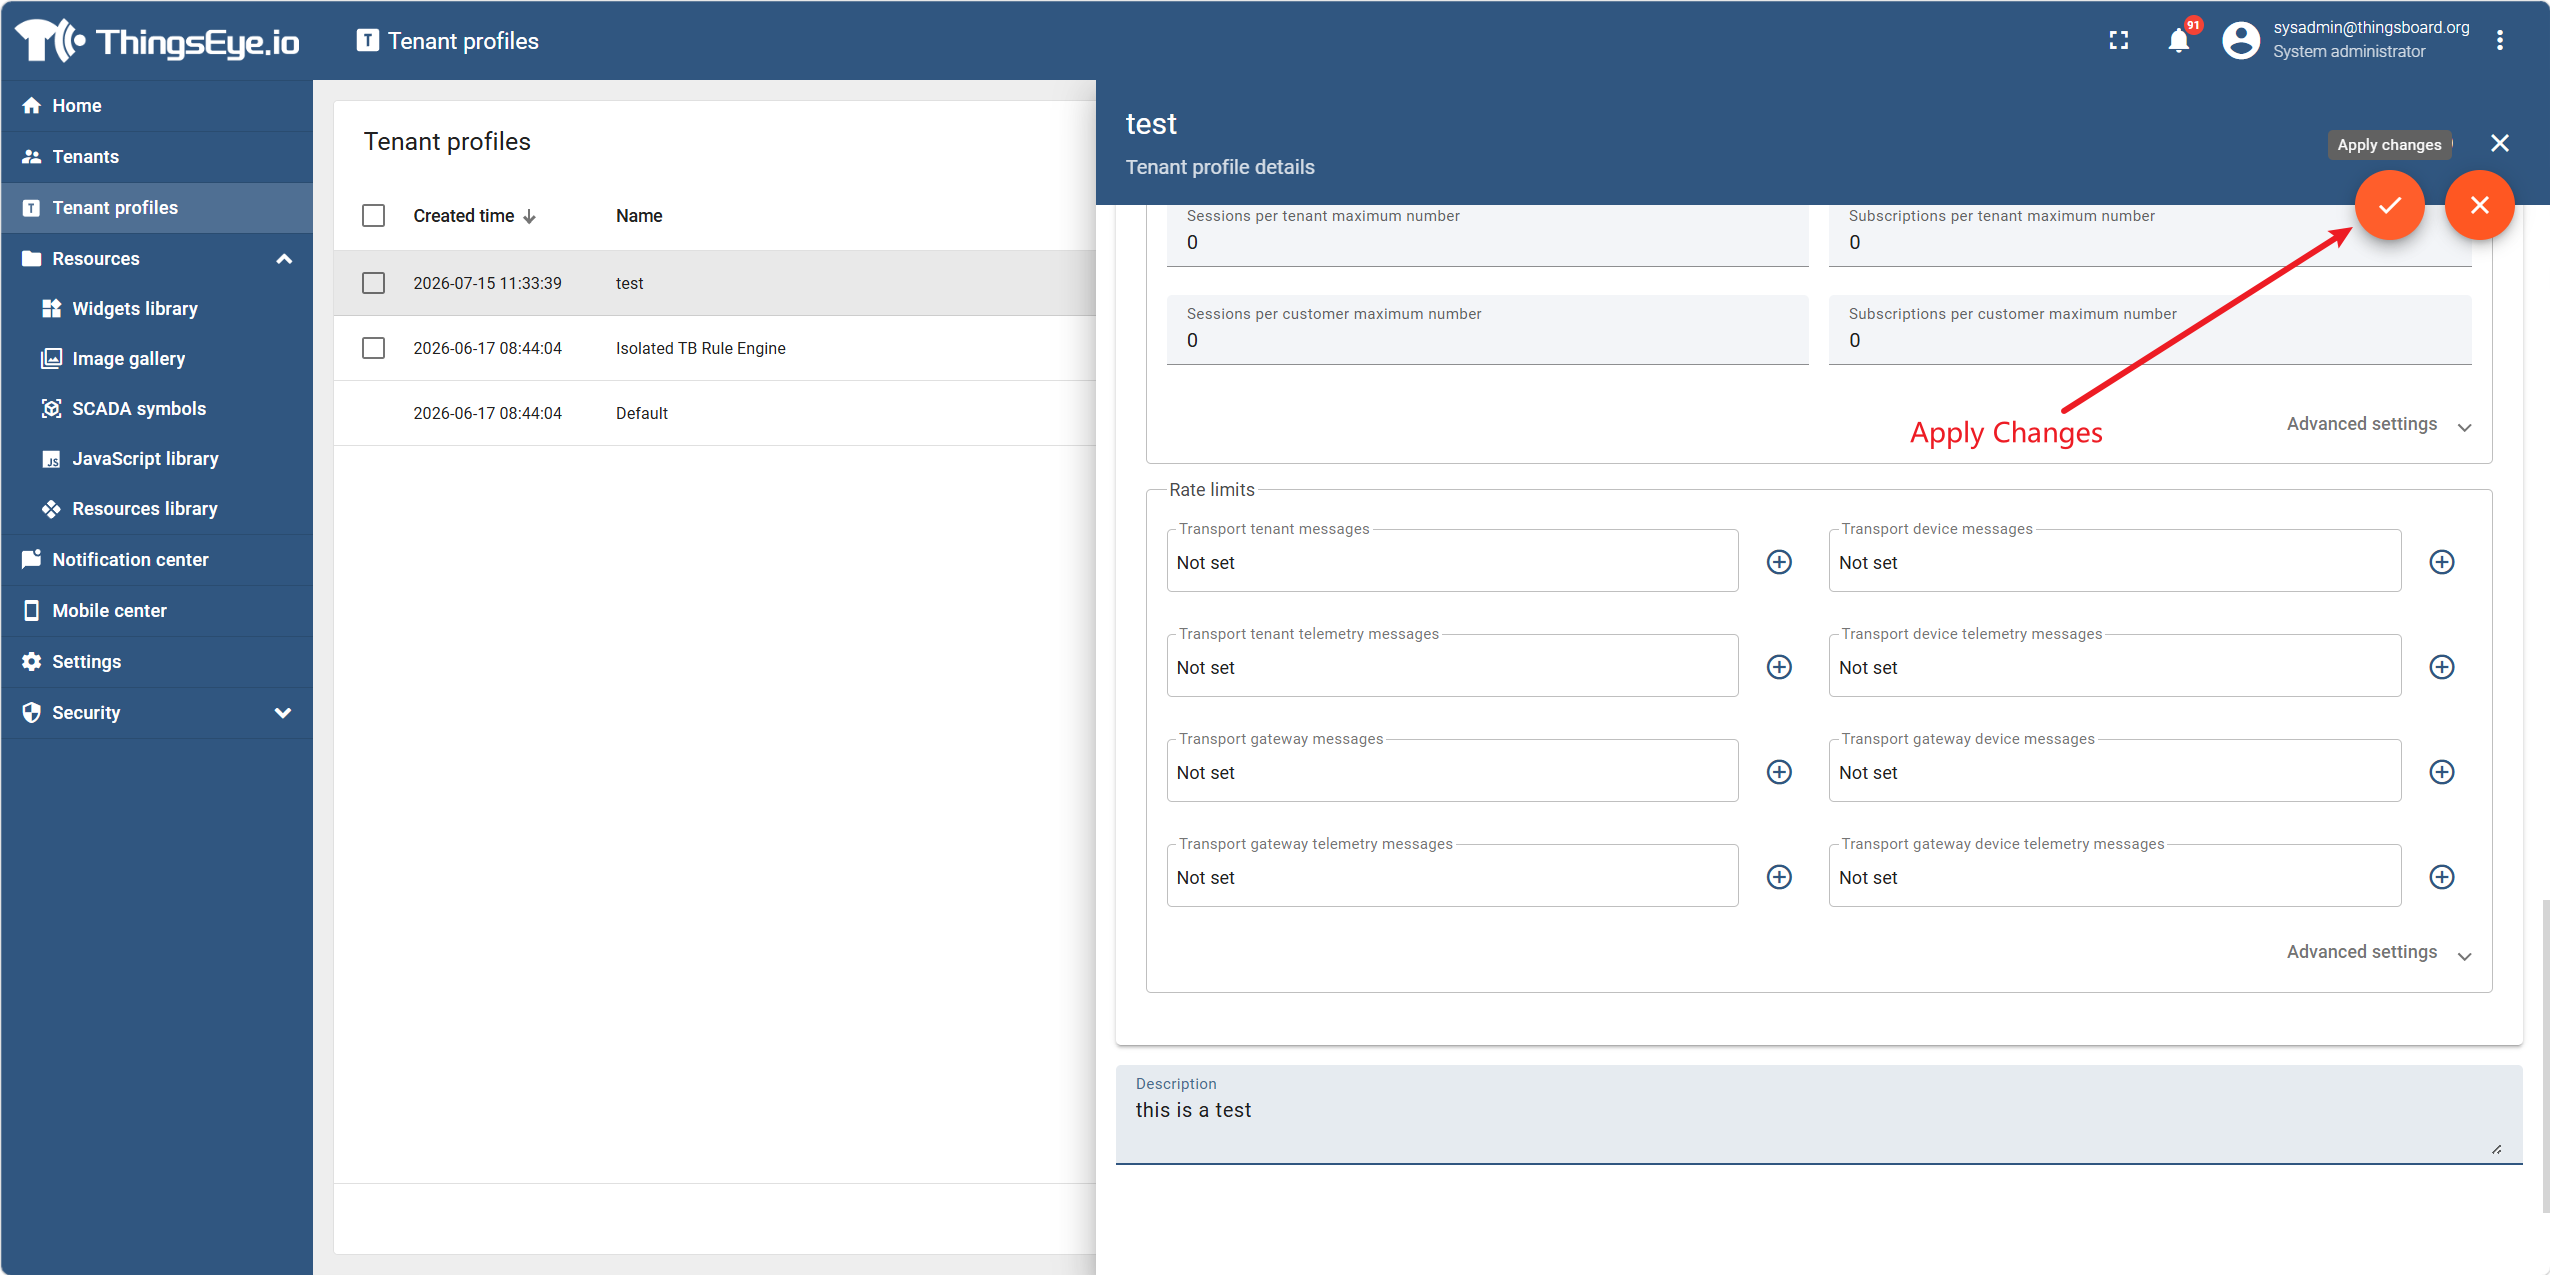
Step 5: Save Changes
After completing the modifications, click the "Apply Changes" button in the upper-right corner of the page to submit the update.
The system will save the changes and refresh the profile information.
Important Notes
| Note | Description |
|---|---|
| Default Profile Uniqueness | Only one default profile can exist in the system. Setting a profile as default will automatically remove the default status from the previous default profile. |
| Impact on Existing Tenants | After modifying a profile's quotas, all tenants referencing this profile will be immediately subject to the new quotas. If current usage exceeds the new limits, the system will issue a warning and block new creation operations, but existing data will not be affected. |
| Description Usage | Profile description is for management reference only and does not affect system functionality. |
| Modification Audit | All modifications to profile information are recorded in audit logs (see Chapter 11). |